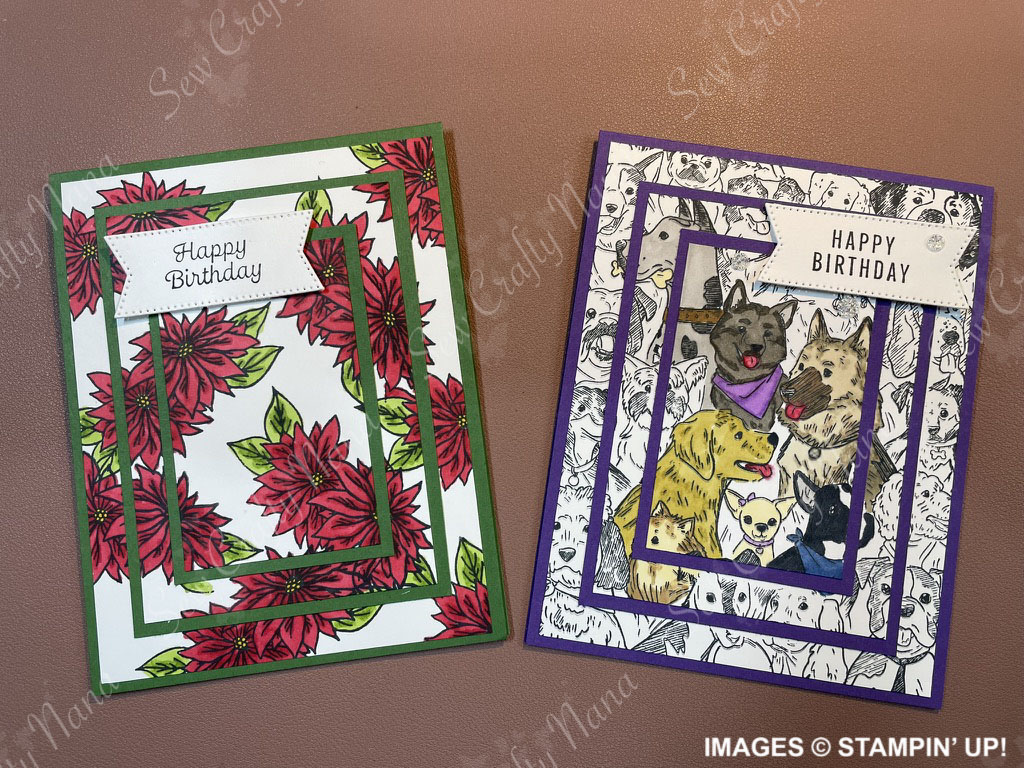
Triple Time Stamping!
…with a twist!
This week I’m going back to an oldie but a goodie – the triple time stamping technique. This technique traditionally has you stamping images so that the ink is the star of the show. In this version, we’ll be stamping outline images and then coloring them in with Stampin’ Blends (alcohol markers). As always, I’ll be focusing on the technique, not the specific products I’m using – although everything I used is linked at the bottom of this post.
Measurements
Base color cardstock (I used Gorgeous Grape and Garden Green)
- Card Base: 4 ¼” x 11” scored at 5 ½”
- Layer 1: 3 ¼” x 4 ½”
- Layer 2: 2 ¼” x 3 ½”
Basic White cardstock
- Base panel: 4” x 5 ¼”
- Layer 1: 3” x 4 ¼”
- Layer 2: 2” x 3 ¼”
- Inside: 4” x 5 ¼”
You’ll also need a scrap for the outside sentiment if you use one.
Assembly
Check out my YouTube channel – SewCraftyNana – and watch the video tutorial here: https://youtu.be/_-vr96_3skc
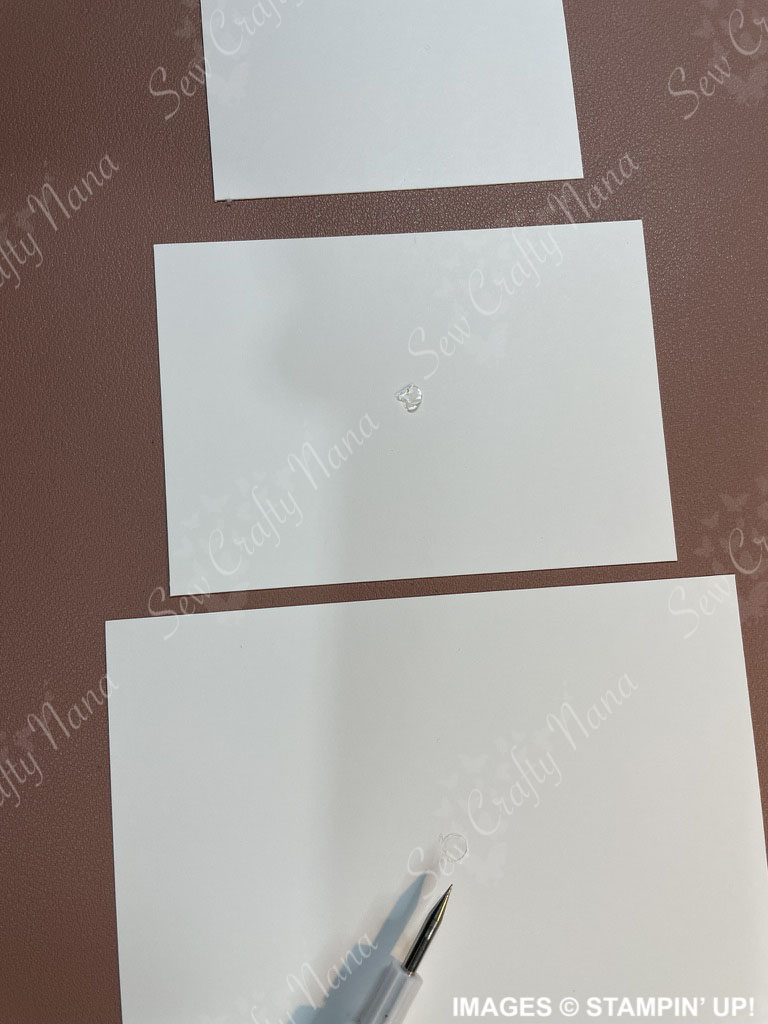
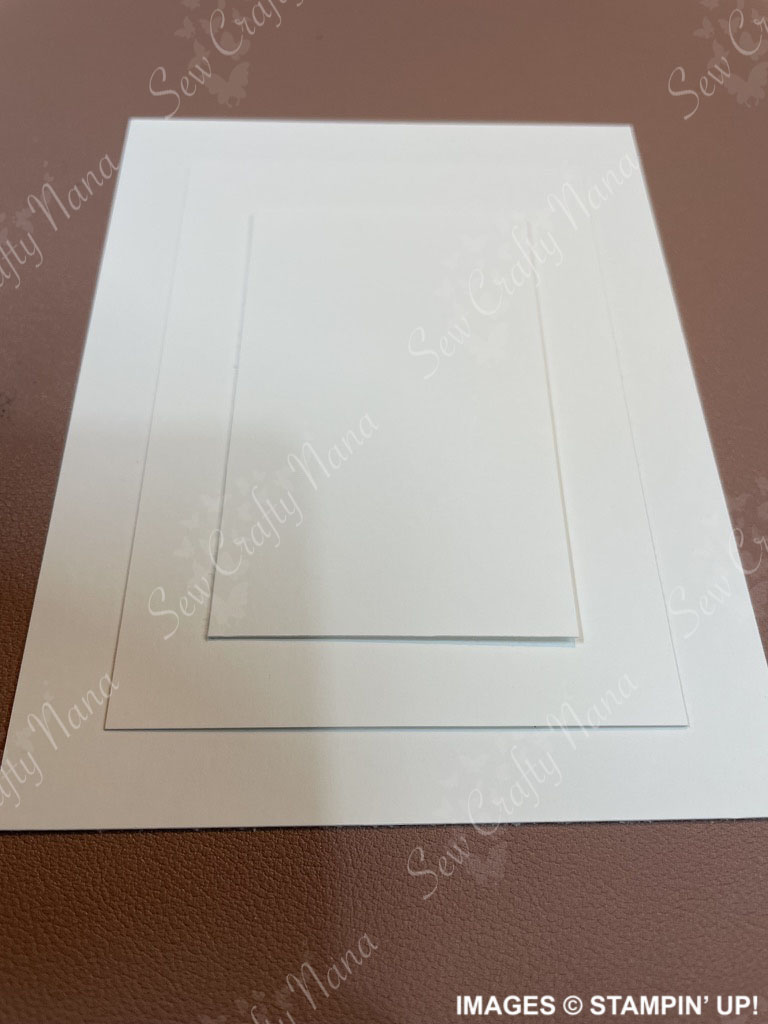
Using a small amount of adhesive in the center of Basic White base panel and layer 1, attach the three layers together, centering each one.
Tip: These need to come apart later, so I recommend using a small amount of tape runner or mini glue dots (my preference). After applying the adhesive, touch it with your fingers several times to take off some of the stickiness.
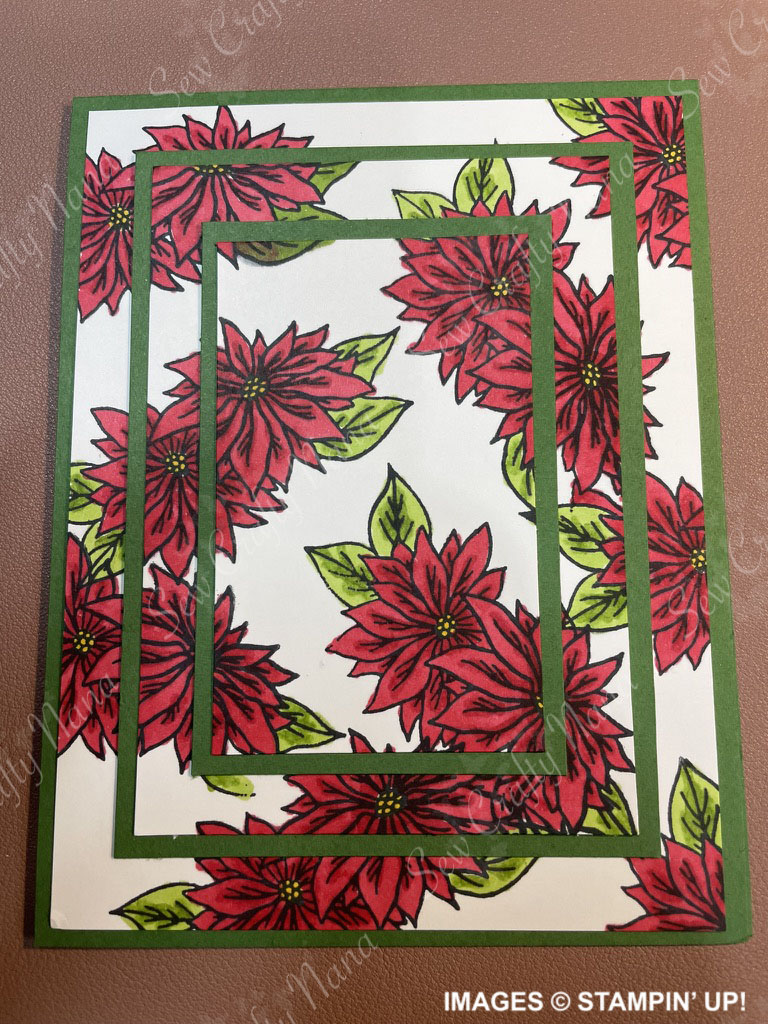
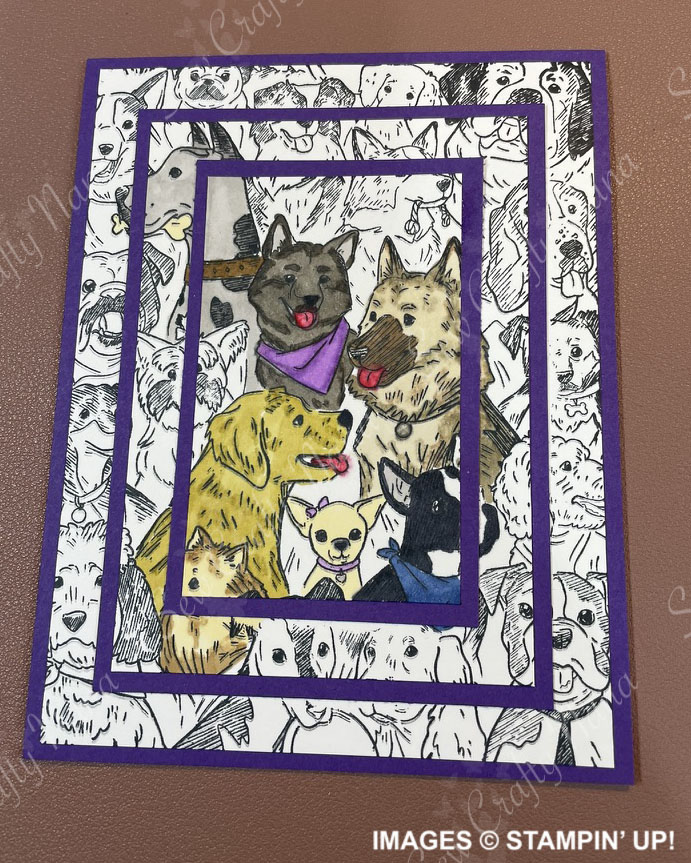
- Stamp your image(s) onto the layered white cardstock. You need to make sure you apply firm pressure to make clear images where the layers overlap.
- Refer to my YouTube video linked below for specific tips and technique for stamping.
- It may be helpful to use a stamp positioning tool, however this isn’t absolutely necessary.
- Photopolymer (clear) stamps work best for this technique since you can see the placement of your image and if/where it overlaps.
If using outline images like mine, you will color them next. I used Stampin’ Blends alcohol markers for my images, in a variety of colors. For the dog image, I only wanted to color some of the dogs, but you may want to do all of them. For the Poinsettias, I thought about leaving some white, but ended up coloring all of them red. Coloring is a very personal thing, so you color them however you like and with whatever tools you prefer. When you are finished, your image will look something like this.
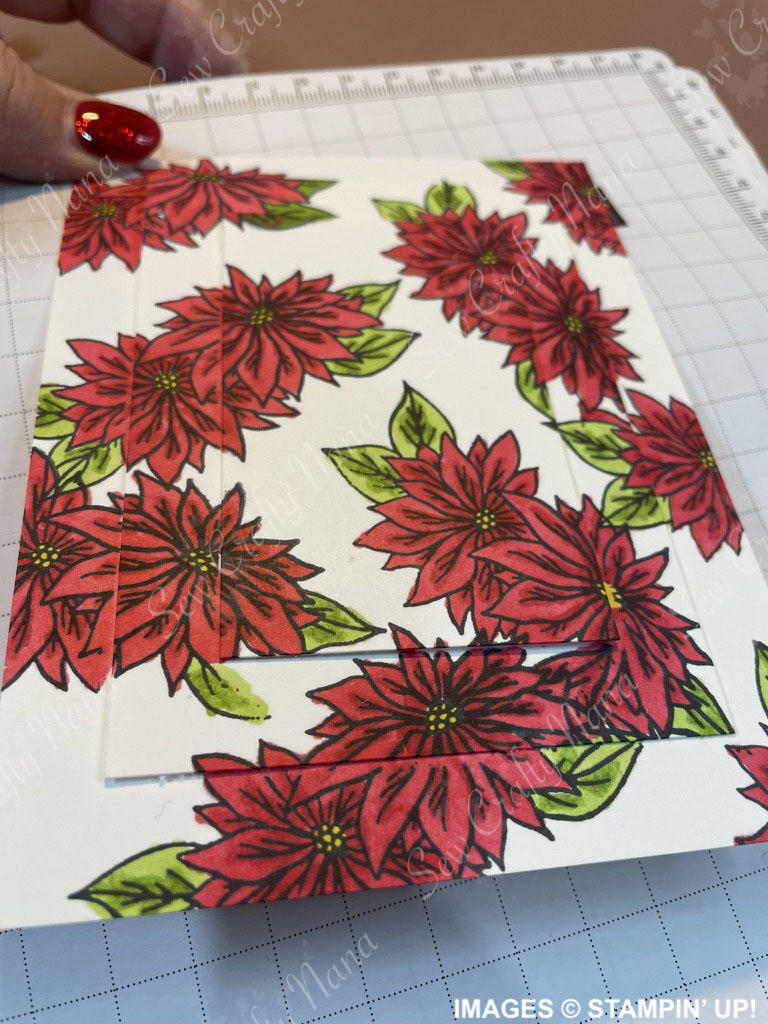
- Next, you need to pull the layers apart – gently! With the glue dots, I’ve found that rotating the layers helps them come apart. Don’t worry about any residue or spot where you pulled them apart, as you will cover that up in the next step.
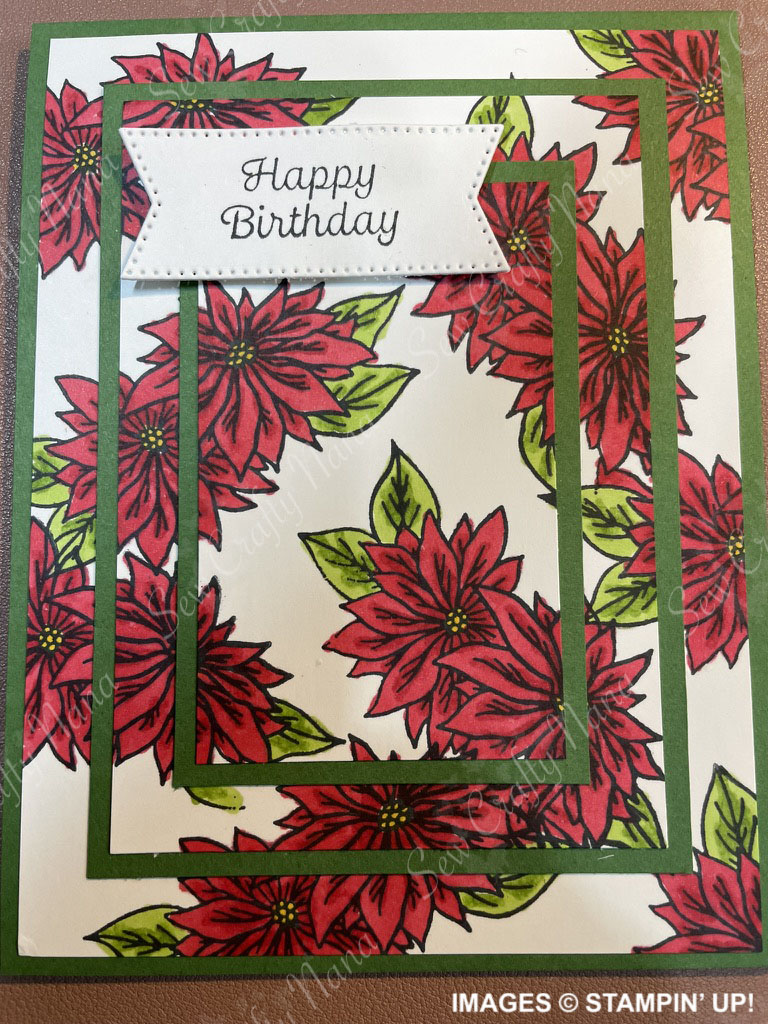
- Using your adhesive of preference (I used Tombow Multipurpose Liquid Glue), attach your Layer 1 and Layer 2 pieces to their matching-colored cardstock pieces. Then attach layer 1 and 2 together and attach that to the base panel piece. Lastly, attach the whole thing to the card base (burnish that score line first!).
Note: If you prefer, you can attach the layers from the card base outwards, but I tend to put everything together and attach it to the card base last. Either way works!
- Decide if you are putting an inside sentiment. If so, stamp it now and then attach your inside Basic White layer to your card base.
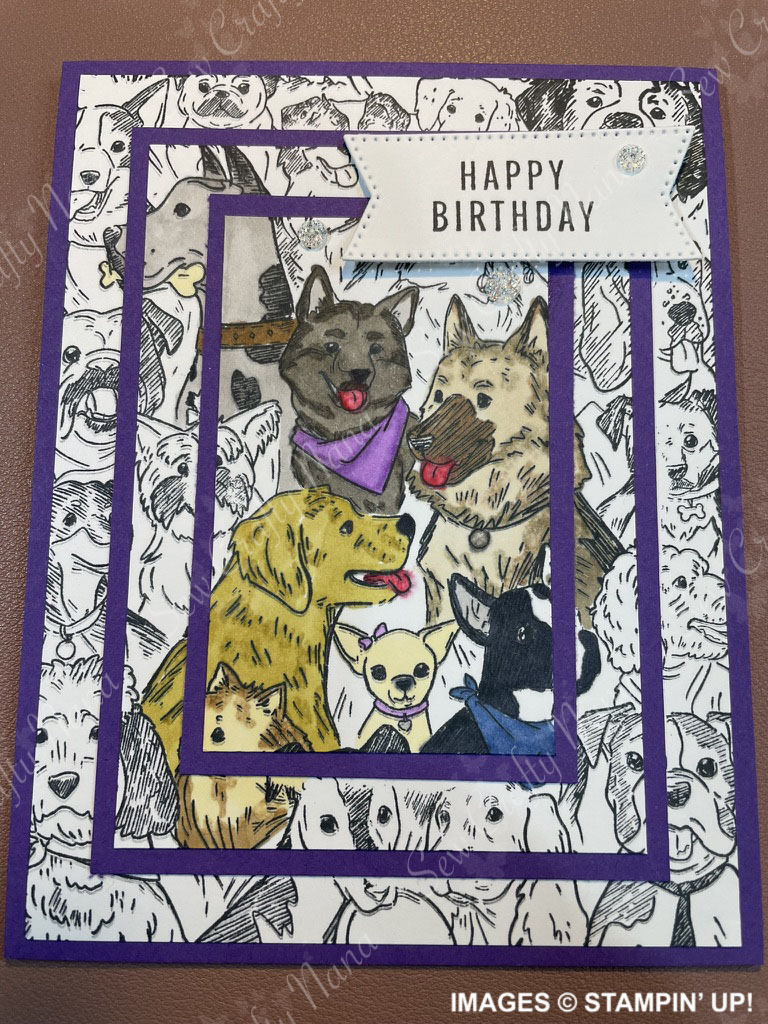
- Decide if you are putting an outside sentiment. If so, stamp it. You can do a basic strip of cardstock, notch the ends, use a punch, or use a die. I used a banner die from the Stylish Shapes die set. My sentiments on the dog card came from Translucent Florals (“Happy Birthday”) and a new stamp set coming out January 4, 2024, called Perennial Postage (“Sending love and best wishes”). My sentiments on the Poinsettia card are both from Very Best Occasions (“Happy Birthday” and “Sending you smiles for every moment of your special day”).
- Attach your outside sentiment – I used dimensionals for mine.
- Add any embellishments you choose – I added some sparkly dots!
That’s it!
I hope you’ll try this – I think there are endless possibilities with this design!
Thanks so much for stopping by. Happy Crafting!
Teresa
Supply List:
- Stampin’ Blends
- Gorgeous Grape Cardstock
- Garden Green Cardstock
- Basic White Cardstock
- Tuxedo Memento Black Ink
- Doggone Friendly Stamp (available after January 4, 2024)
- Rustic Crate Stamp set (Poinsettia stamp)
- Stylish Shapes Dies (banner)
- Translucent Florals Stamp set (sentiment)
- Perennial Postage Stamp set (available after January 4, 2024)
- Very Best Occasions Stamp set (sentiments)
- Adhesive Backed Glitter Sequins (retiring January 3, 2024))
- Mini Glue Dots
- Tombow Multipurpose Liquid Glue
- Stampin’ Dimensionals
- Stampin’ Scrub
- Stampin’ Mist stamp cleaner
- Paper Trimmer
- Clear Block D
- Clear Block F
- Bone Folder
- Take Your Pick tool
- Misti Stamp Positioning tool (or any similar)
- Stampendable

Leave a comment