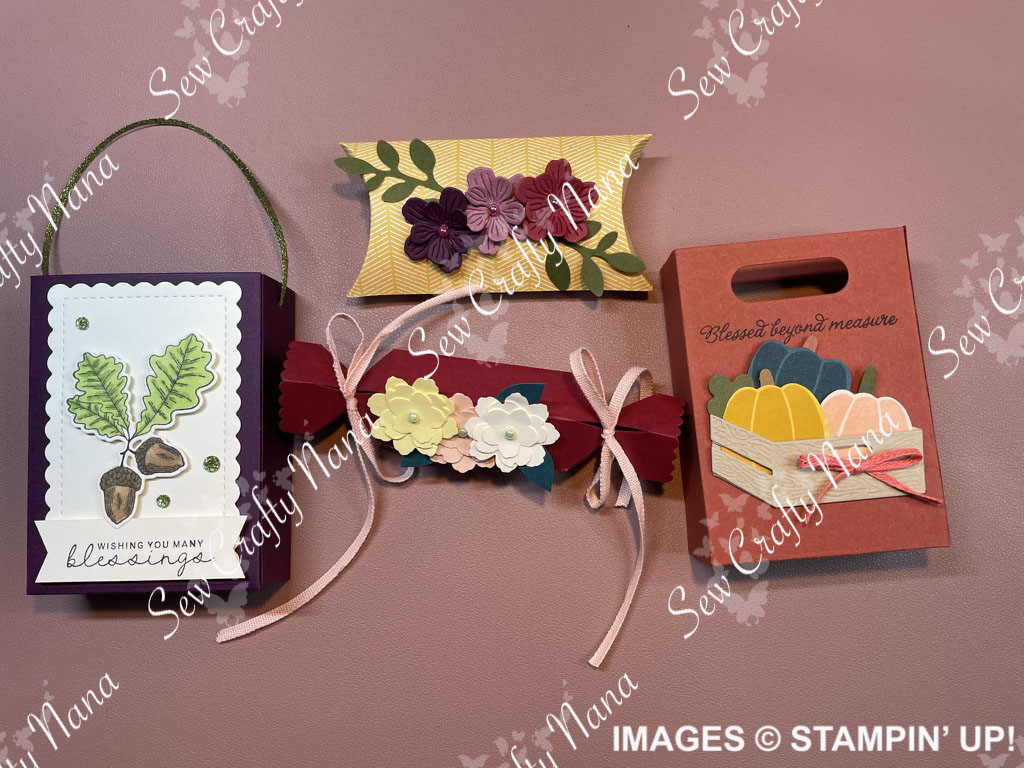
These were FUN to make! Having a large gathering for Thanksgiving, I was trying to figure out how to “decorate” the tables, but with something usable – not just decor. When my family gathers, it’s an ALL day affair. Main meal early afternoon, lots of laughs and talking and games, and then 2nd meal as we wind things down. So, I thought it might be nice to have small “treats” on the table that people can grab to munch on during game playing between meals. So this brain child was born…
I love the treat bag die from the Tricks and Treats die set. This will be one I use year-around for many occasions. This is a great size for small bags of peanuts, lifesavers, and M&Ms. CHECK! Then, I looked at the Cracker and Treat box die and thought – this will be perfect for hard candy! CHECK, CHECK! I also had the pillow boxes from the Let’s Party Treat Packaging Kit that I got really inexpensively when Stampin’ Up! had a kit sale. They’re perfect for the M&Ms, hard candies or maybe little Girardelli squares. They rounded out my table favor shapes – now to die-cut and decorate!
I learned a lot about making these through trial and error. One big thing is to use cardstock. While I loved the idea of using Designer Series Paper, it just isn’t strong enough for these. Another lesson was to hold off assembling until I decided on the decor for the bag/box. Sometimes decorating first makes sense.
Treat Bags
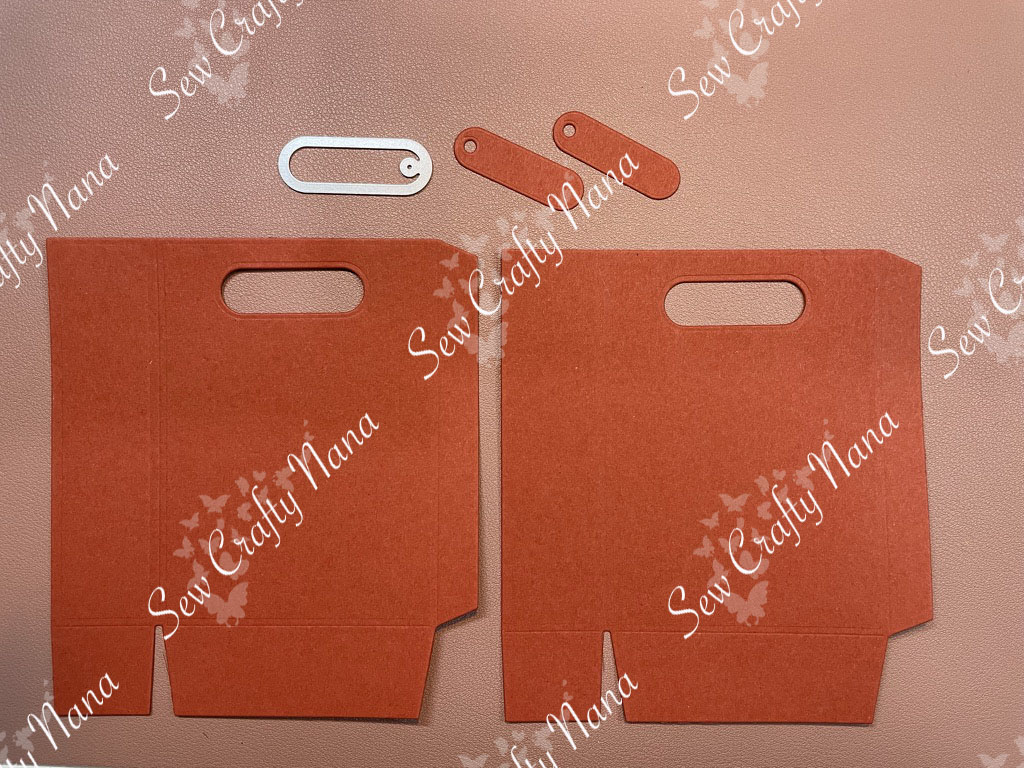
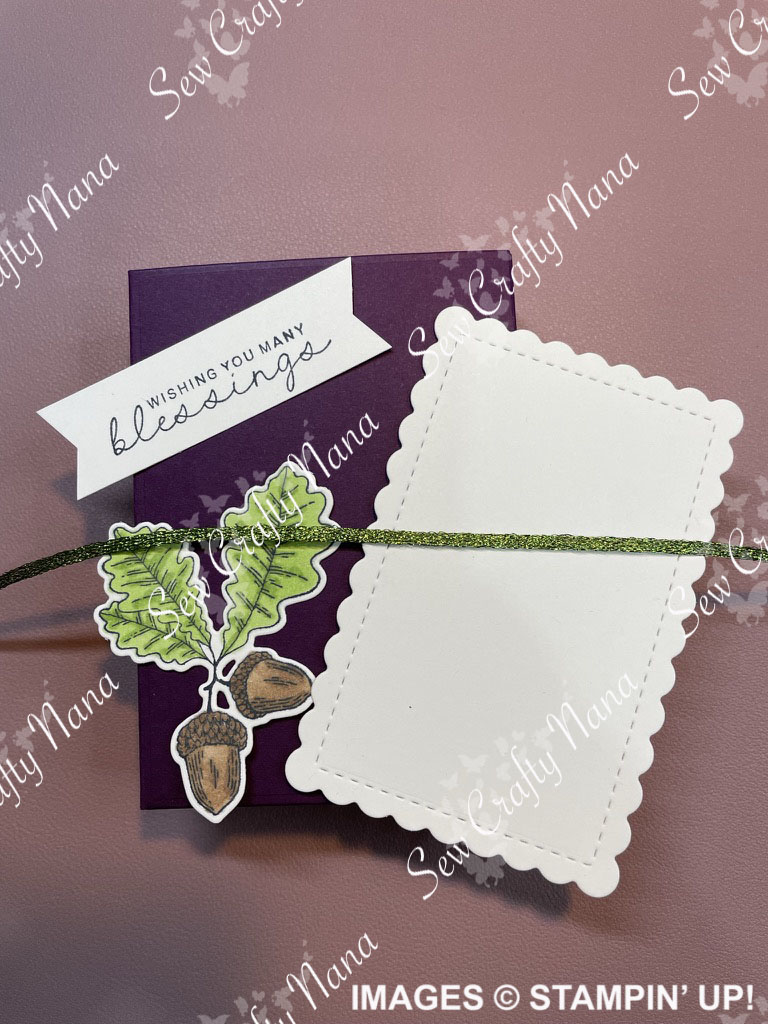
I wanted to figure out something different from punching holes and putting the normal double handles on these bags. Those are fine, but I wanted something different. I found that you can use the little oval tag die from the Sending Cheer dies to cut out handles that look just like full size gift bags – so cool!

I also tried punching the holes in the sides and having just one handle. Lesson with this… if you use a thin ribbon or twine like I did, the knot will just come through the hole.
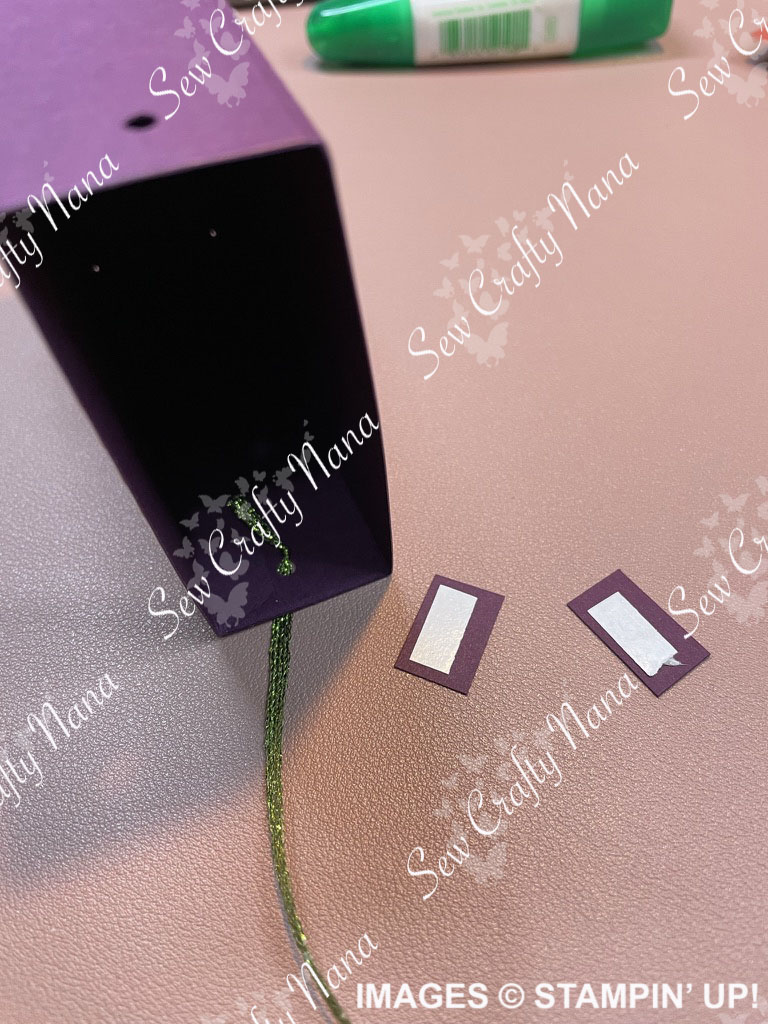
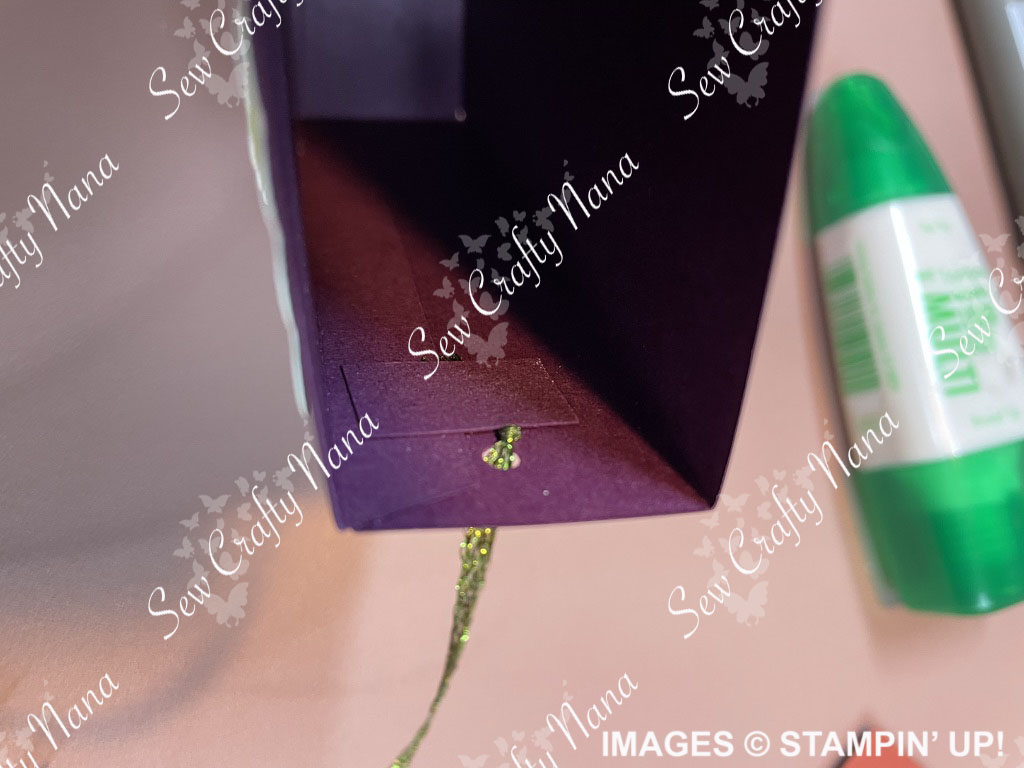
I fixed this by cutting two small rectangles, adding Tear and Tape, and taping down the ribbon tails inside the bag. You don’t even notice it unless you look closely! I also learned that in some cases you may want to decorate prior to putting the bag together. I sort of wrinkled my bag adding the scalloped piece, especially when I didn’t get it centered and had to pull it off! Definitely would have been easier to add that piece before assembling the bag. The Rustic Crate can be added before or after assembling the bag. I love how these turned out though.
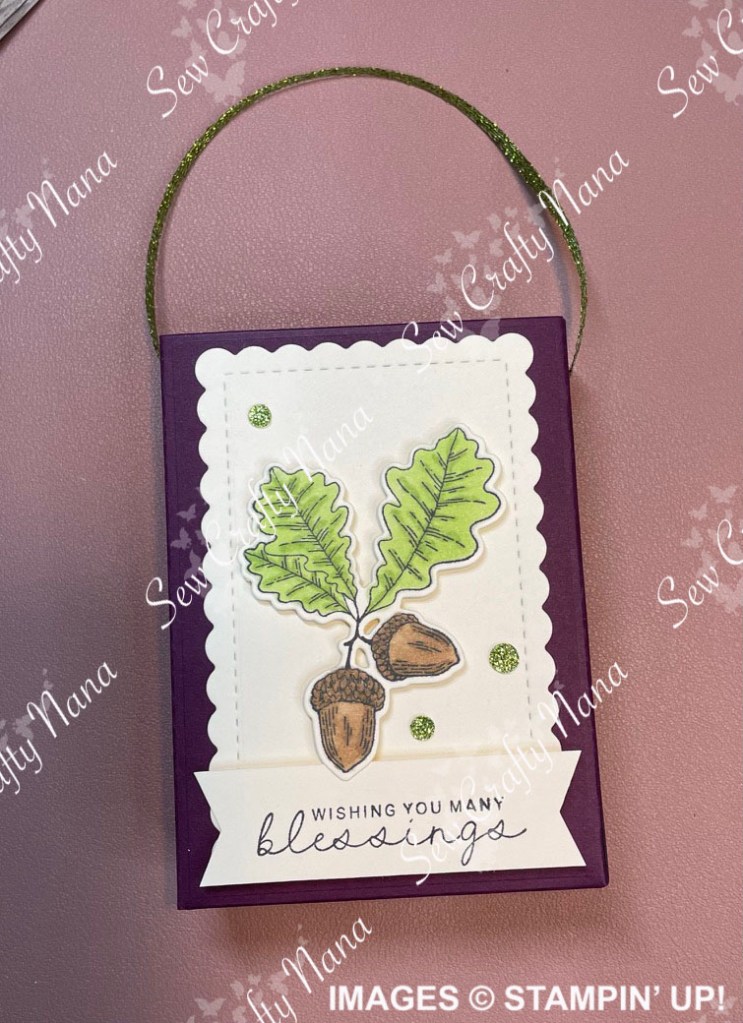
I colored the acorns with Stampin’ Blends alcohol markers. The image is stamped with Tuxedo Black Memento ink on Very Vanilla cardstock. I used Granny Apple Green (light & dark) for the leaves and Pecan Pie (light & dark) for the acorns.
Cracker & Treat Box
These are small – so the area to decorate is TINY! I had to really scale down with decorating. I initially thought embossing would make these interesting, but when I tried this there were a couple of issues. First, the box is too big for many of my embossing folders and it was hard to get them embossed all the way. Second, when you emboss them it presses out the score lines, making it very difficult to fold. So, I nixed the embossing folder idea.
Instead, I felt like the Petal Park flowers were the perfect size and looked really nice. Leaf and pumpkin die cuts also work well here too. On some of them – and in my video – I decorated each little rectangle with DSP (in the video I used Glorious Gingham DSP) – it just gives another layer of interest. Adding a bow is another pretty option.
Note: I cut the DSP to ½” x 2 ¼” for 5 of the panels (one panel overlaps the 6th panel when you glue the box together.
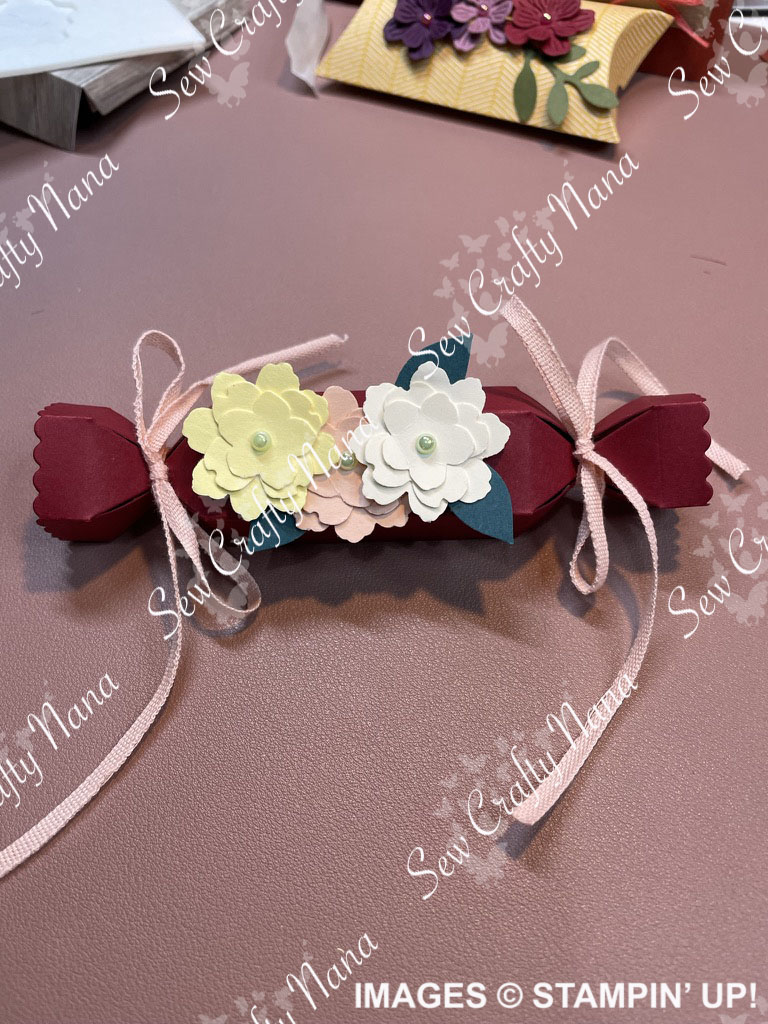
Pillow Boxes
Top tip: don’t assemble them all before thinking it through!!
I put these together – half yellow and half blue – because that’s how they were in the kit. I wish I had put them all together with the yellow side out – as the blue just did not go with the rest of the Fall colors I used. They are my least favorite – but oh well!
Pillow boxes are a super simple way to have a cute giveaway. They go together simply and are really easy to decorate since they lay flat. For mine, I used a retired flower die, but these could easily be replaced with the Petal Park Punch flowers like the cracker box below. Three little flowers and two sprigs from the Bough Punch and that’s it!! So simple but really pretty!

These all were all very simple to make. The sky’s the limit as far as decorating goes.
So, what do you do if you don’t have these box dies? There are many tutorials out there for making small boxes from cardstock. If you’d like me to do a quick tutorial on that, just let me know in the comments. Alternatively, I’ve linked these supplies below, so you can head over to my Stampin’ Up! storefront if you don’t have a demonstrator to purchase from. I am a “hobby” demonstrator, so I joined really to get the discount on products and pre-sales. I love it and I love the products – ask me any questions you may have!!
Be sure to check out my YouTube channel – SewCraftyNana – for the full viedo tutorial (posts at 8pm EST November 10)! https://youtu.be/sQz3fzzXNBk
Supply List:
- Cardstock – variety of colors – all from Stampin’ Up!
- Fruitful Blessings Bundle
- Pick of the Patch Bundle
- Let’s Party Treat Packaging Kit
- Sending Cheer Dies
- Scalloped Contours Dies
- Tricks and Treats Dies
- Cracker and Treat Box dies
- Rustic Crate Dies
- Banners Pick-a-Punch
- Bough Punch
- Petal Park Builder Punch
- Glorious Gingham Designer Series Paper
- Metallic Woven Ribbon (Parakeet Party)
- Adhesive-Backed Glitter Sequins
- 2022-2024 In Color Pearls
- Calypso Coral Braided Linen Trim
- Pecan Pie ⅜” Center Stripe Ribbon
- Tuxedo Memento Ink
- Granny Apple Green Stampin’ Blends combo pack
- Pecan Pie Stampin’ Blends combo pack
- Multipurpose Liquid Glue
- Silicone Craft Sheet
- Stampin’ Seal +
- Stampin’ Cut and Emboss machine
- Paper Trimmer
- Tear & Tape
- Bone Folder
- Take Your Pick Tool
- Mini Glue Dots
- Stampin’ Dimensionals
- Fiskars 1/16” hole punch (or any hole punch you have)
- Post-it Tape

Leave a comment