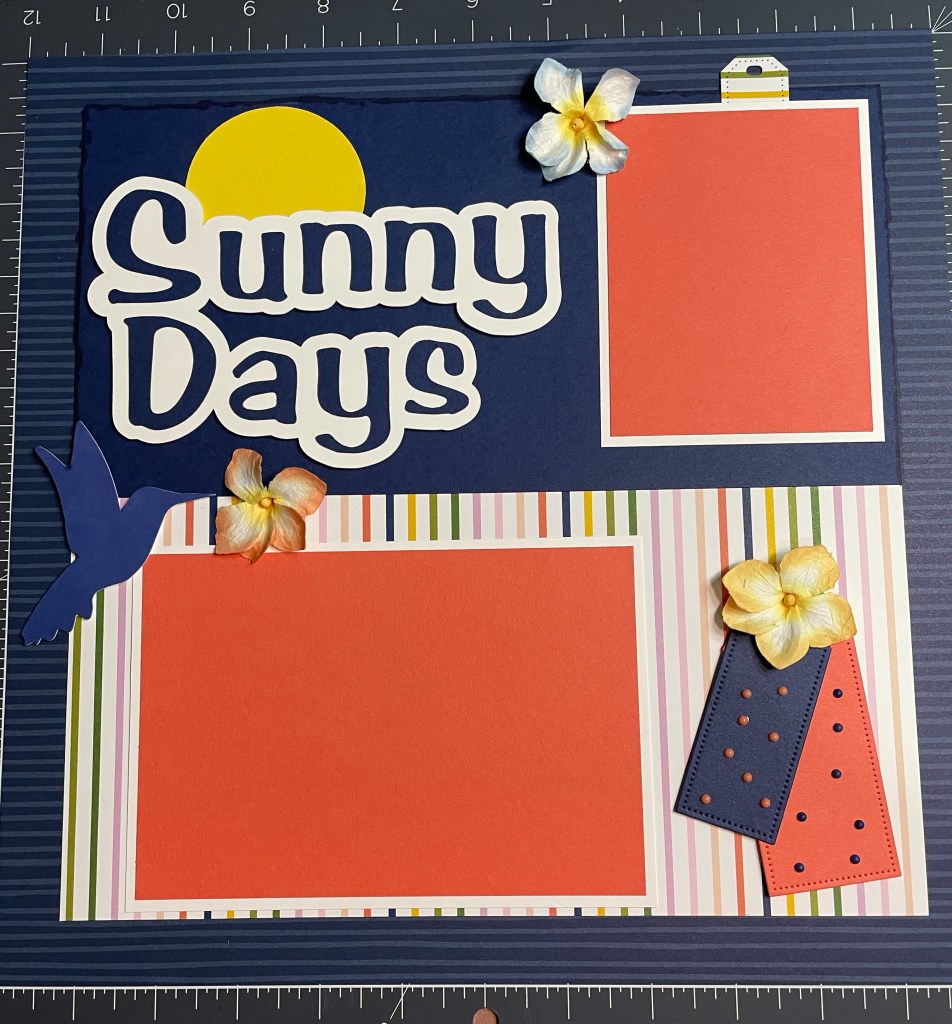
This layout was created mostly with cardstock. One patterned paper (striped) was used to bring the colors together and the base page is a subtle navy stripe. The pictures are not great – sorry about that! They make the coral color look very orange, when in reality is truly is coral. I love the coral and navy together, along with the yellow pops of color and the stripes. This is a two page 12″ x 12″ layout. Let’s look at the left page first.
The multi-color striped paper is from the Delightfully Eclectic Designer Series Paper and the base navy stripe paper is from Countryside Inn Designer Series Paper – both from Stampin’ Up!. The cardstock colors used were Basic White, Calypso Coral, and Night of Navy (all Stampin’ Up!).
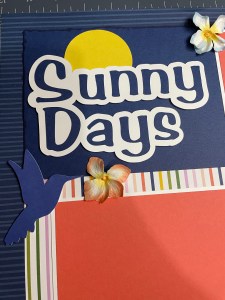
Once I chose the color palette, I created the base page layout. I wanted to turn the multi-stripe in the opposite direction on this page, just for interest. I put the Navy piece on top, with the stripe on the bottom – this formed a 10 1/2″ square – I wanted the 3/4″ border around the edge to show the navy base paper. Once I had that done, I knew the title would go at the top on the plain paper, because the stripe was too busy for it to pop. I absolutely love how that turned out. I cut the title on my Cricut Explore Air 2, using the offset feature for the white background. I glued the navy letters onto the white first, so that I could reposition it around all in one piece. This is just basic white and night of navy cardstock. I punched the “sun” with a 2 3/8″ circle punch from Stampin’ Up! in Daffodil delight cardstock. That was as far as my vision went for this page! I quickly decided on two photos with white mats. The photos will be 4″ x 6″ and 3″ x 4″, so each cardstock layer increases those sizes by 1/4″ each way.
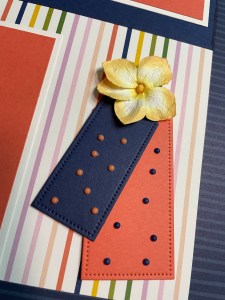
Next I looked at embellishments. I had some die cuts from Michaels that included different sizes and colors of hummingbirds, so I liked those. I also had these flowers from Michaels that came in a pack of 5 different colors. I stuck with blue, coral, and yellow and decided to use those. I cut some tags in the different cardstock and papers using the Tailor Made Tags die set from Stampin’ Up! I tucked one under the top photo mat and put the other two together with a flower for another embellishment cluster. Lastly, I used the Ombre Matte Decorative Dots from Stampin’ Up! to embellish the tags like polka dots. I like the clean finished product!
Turning to the right side page, I knew I wanted more photos and a place to journal about these photos.
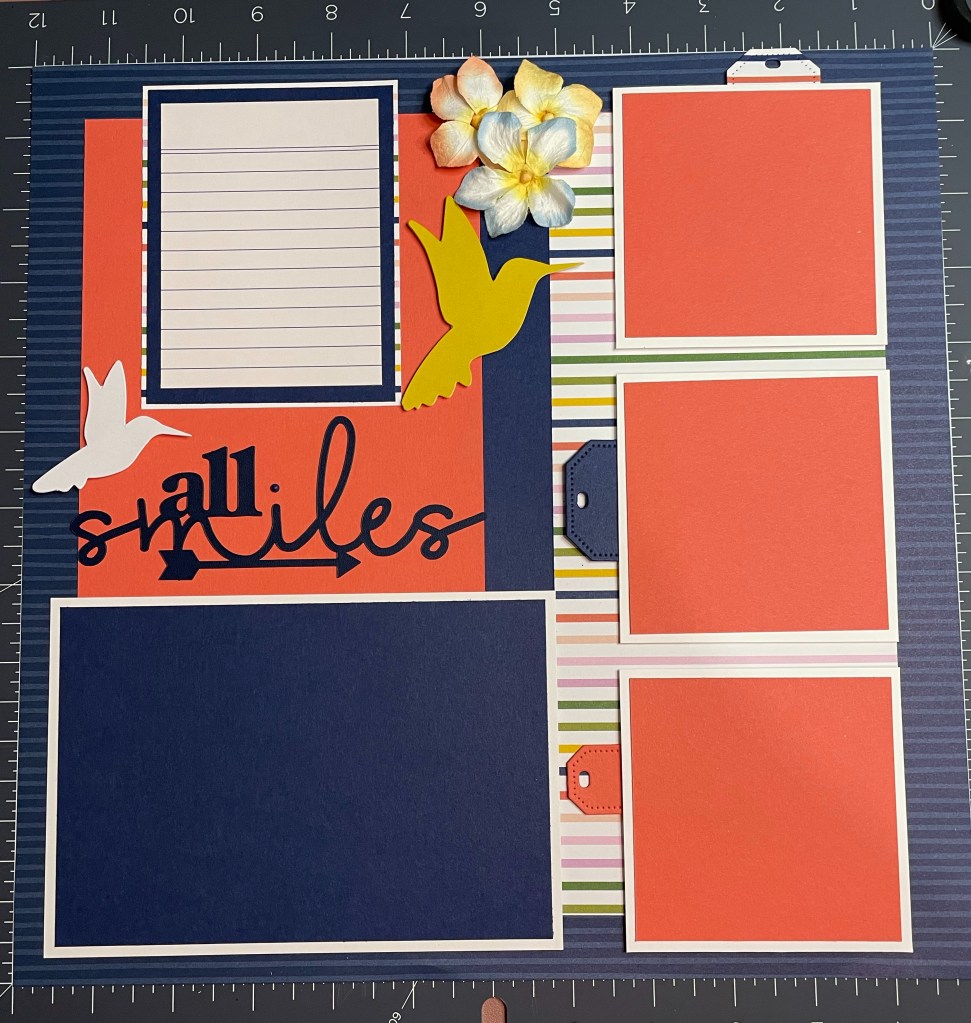
This time I put the multi-striped paper vertically on the background, with both a navy strip of cardstock and coral cardstock to make up the 10 1/2″ square. I matted the photo placeholders with Basic White cardstock, and matted the lined journaling card with Night of Navy 1/4″ larger and then the striped paper 1/8″ larger. This varied my borders giving just a peak of the striped paper, which I really liked. I tucked all my tags behind the photos on this page and made a cluster of all three flowers in one place. Two hummingbirds mirrored the one on the left page, with one being yellow to bring in that Sun color from the left page. The All Smiles title is a die cut from Close to my Heart – I’m not sure which embellishment pack it’s from – but you could cut something on Cricut or use a title sticker in place of that. I used one of the Ombre Matte dots for the dot over the “I”!
So here is the final layout:

I’m really happy with it – I feel like my eye flows over it nicely. The pops of yellow are great and I love the stripes peaking out from the cardstock. The only thing I’m not sure of is the navy photo mat on the right… because it’s the only navy one. I don’t think it will bother me when I add the pictures though, so I’m leaving it for now. It does cut through all the coral, so that’s a plus. Let me know what you think and what you would do differently!
Links to products COMING SOON!

Leave a comment